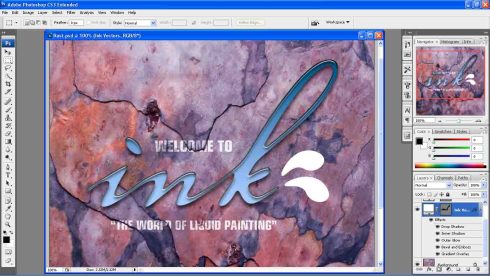
Tutorial 4
The goal of this tutorial is to bring this picture into something off an liquid or icy effect.

The first tweak is a combination of effects in the blending option.
Gradient Overlay – apply gradient color
Inner Shadow, Drop Shadow, Outer Glow – draw outline around the edge
Bevel and Emboss – make the text look likes floating
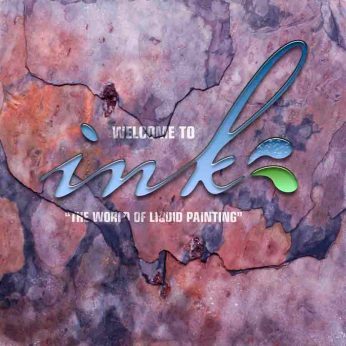
Next is to apply the same thing to the two droplets. However, the tutorial thought about the usage of layer style. Thus, you can save your layer style and access them later.
The bigger step is here, the upper droplets has to be change to somewhat liquid by blending the background to it. This can be achieved by a complicated step that involved channel layer, and apply the texture at bevel and emboss>texture.
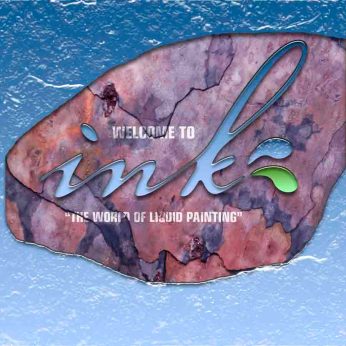
Here, the tutorial taught us how we can draw the layer style to other places. This can be done by making a new layer with a new solid object, apply the layer style. As the whole solid object is icy surface, we need to reverse it so we can draw out the layer. Much like the process in tutorial two. Thus, we use layer mask, ctrl+d to revert, then draw to reveal it.
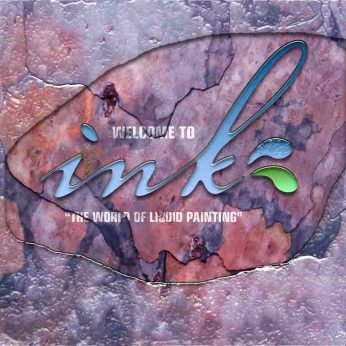
Finally, in the blending option, decrease the opacity of the entire effect will somehow remove the some of the color that make it looks like a cover of ice.
Leave a Comment
Be the first to comment!

Leave a comment