Project Assignment 2 Details
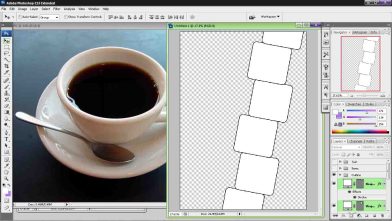
1 outline
I first draw the outline fo the boxes that arrange vertically. They are to be replaced by pictures that take in the exact shape of the boxes. Thus the outline can be highlighted by ctrl+click layers
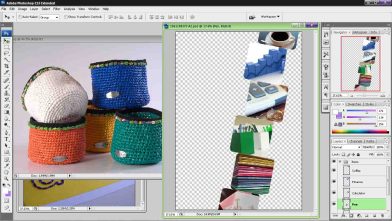
2 Pictures Color
I want to show each boxes has it’s own color, so i changed calculator to yellow, the coffee tea as orange, and more green to the pens. I did this by opening a layer and draw a color with different layer mode: color and overlay.
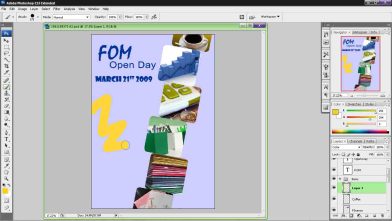
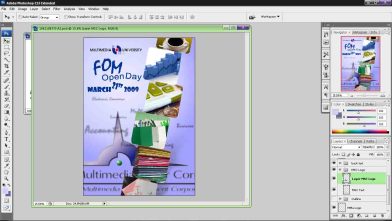
3 Background Text
This is to create a sight where there’s text floating behind the paper. The text are reference to the majors offered in FOM. The text are adjusted with Box blur + transparency

4 Shadow
This is a very first experience. I don’t wish to make a shadow that outline the edge, but somehow drop on the background as if the tower of picture is placed on the floor. Firstly, I need to combine the outline of boxes and merged them into one. With one layer, I can adjust their shape by transform; making them look more into the shape of shadows. Then, I applied gradient to have darker color on the lower part, lighter dark on the upper part.
Until now, the shadow will look completely solid. I adjust the tranparency of the gradient. Another move is to use eraser tool to erase it; many of which are the edge of the shadow. I;d continuing use eraser tool until it looks like shadow and finished.
5 Text
FOM Open Day March 21st 2009. That’s it, I chose the font style and size. Another thing is to rotate them by transform.
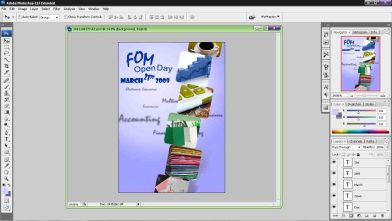
6 Additional Stuff
I need to include a MMU logo. This is simple, the original has a white background. The only wat to remove them is to use magic wand tools. Remove them and the color not of white will remained.
The picture seems to be complete, but there’s a large area that seems empty at the bottom of the paper. SO I add a msc logo there. Same process, magic wand tool will be used to remove any white areas.
I kinda wanted to have the logo shown on the open space, while the text can be partially shown. Thus, I create two of them and erase the text one one, and logo on another layer. I apply gaussian blur to remove some sharpness and make it blurring. Then, their transparency has to be adjusted to blend with the background.
7 Final Adjustment
I wanted to change the edge of the boxes of pictures. This can be done by combining all of them to be come one, then highlighted the layer edge by ctrl click. Then, go to marquee tool and change refine edge…
This option can adjust how much will be selected around the edge, the objective here is to highlight a small prtion of it so I can erase some of the edge using eraser tool. After refine edge, select inverse to highted the outer layer and use eraser tool to erase just the unwanted area. The non-highlighted area will not be erased.

Leave a Comment
Be the first to comment!

Leave a comment